3D Printing First Layer Problems
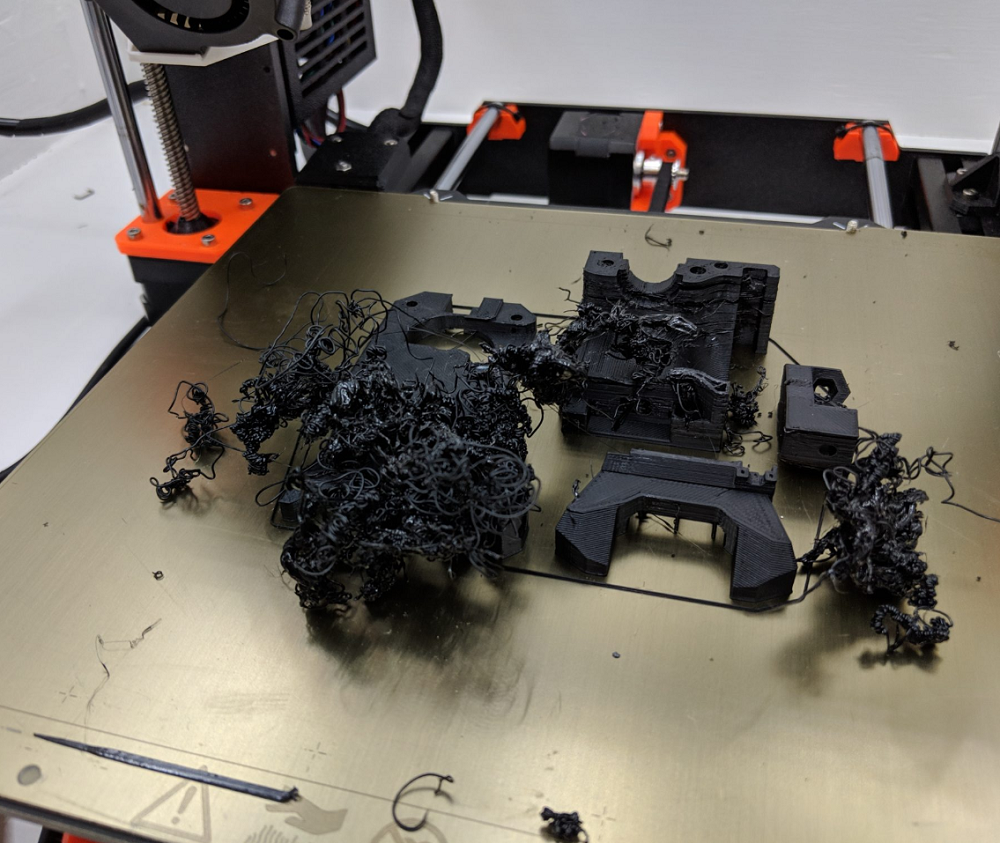
No doubt, if you are new to 3d printing, one of your biggest problems you will face is first layer problems. I know I definitely struggled with it for a LONG time, spending a lot of money and a HUGE amount of wasted time.
The goal of this article is to ALWAYS have your 3d prints stick to your print bed!
Special Note: Links in this article may contain affiliate offers, which mean that I may receive a small commission when you make a purchase. Thank you for your support.
Keys To Getting the Perfect First Layer
Luckily, mastering the first layer on your 3d printer only boils down to 4 items.
- Slow Down Your First Layer Print Speed
- Bed Leveling.
- How close your nozzle is to the build plate.
- Adhesion help and bed Cleanliness.
You will need to address each one of these issues to ensure a perfect first layer.
First Layer Print Speed
Adjusting your first layer print speed was one yet another one of those things that I overlooked when I first started.
Adjusting it is quick and simple. In your Slicer you should have an option for "First Layer Print Speed", I run mine at 20mm/s and have not had any issues.
Bed Leveling
First, on our list, our first layer master list is bed leveling! This is often one of the biggest areas of headaches for beginners.
The term Bed Leveling is a bit misleading in a sense that you really aren’t leveling your 3d printer’s print bed. Instead, you are ensuring that your X-axis remains parallel to the print bed. This term is known as tramming.
This is why using a standard bubble level will not work. The goal here is to keep the same distance from the print bed to the nozzle throughout the ENTIRE PRINT AREA.
Let's Get Leveling!
- Step 1 - Home Your 3d printer.
Home your 3d printer and make sure the reading on the display reflects the fact you are at Z 0
- Step 2 - Disable Stepper Motors
If you cannot easily move the print nozzle or the print bed back and forth you will need to Disable Your Stepper Motors. For most 3d printers this is located under the "Settings Menu"
Navigate to the settings menu and select "Disable Stepper Motors". Once disabled you should be able to move all of the components freely.
NOTE: If you are using painters tape, apply the tape before leveling and level the bed with the tape applied
NOTE: You may need to disable your stepper motors on your 3d printer if you cannot move each axis by hand.
- Step 3- Adjusting the Bed
Position your 3d print head so it is in the front left corner of your build plate.
Next use the bed leveling knobs and adjust them so you have enough space to insert a piece of paper between the print nozzle and your build plate.
*NOTE Paper thickness doesn't matter, we will adjust that later.
Now adjust the bed leveling knobs so you have just a slight bit of resistance as you push and pull the paper.
Repeat this process for each corner of the build plate. Make sure you do this at least twice! You may find that adjust one side of the build plate affects the other side.
Adjusting The Nozzle Distance To The Build Plate
This is by far the most overlooked item on the list. You have your bed leveled, but is the distance correct?
This distance will even vary with different 3d printing materials and brands, so it is important to check each time you begin your 3d print.
To get you in the ballpark it is best to print a bed leveling test model, I like this one on Thingiverse.
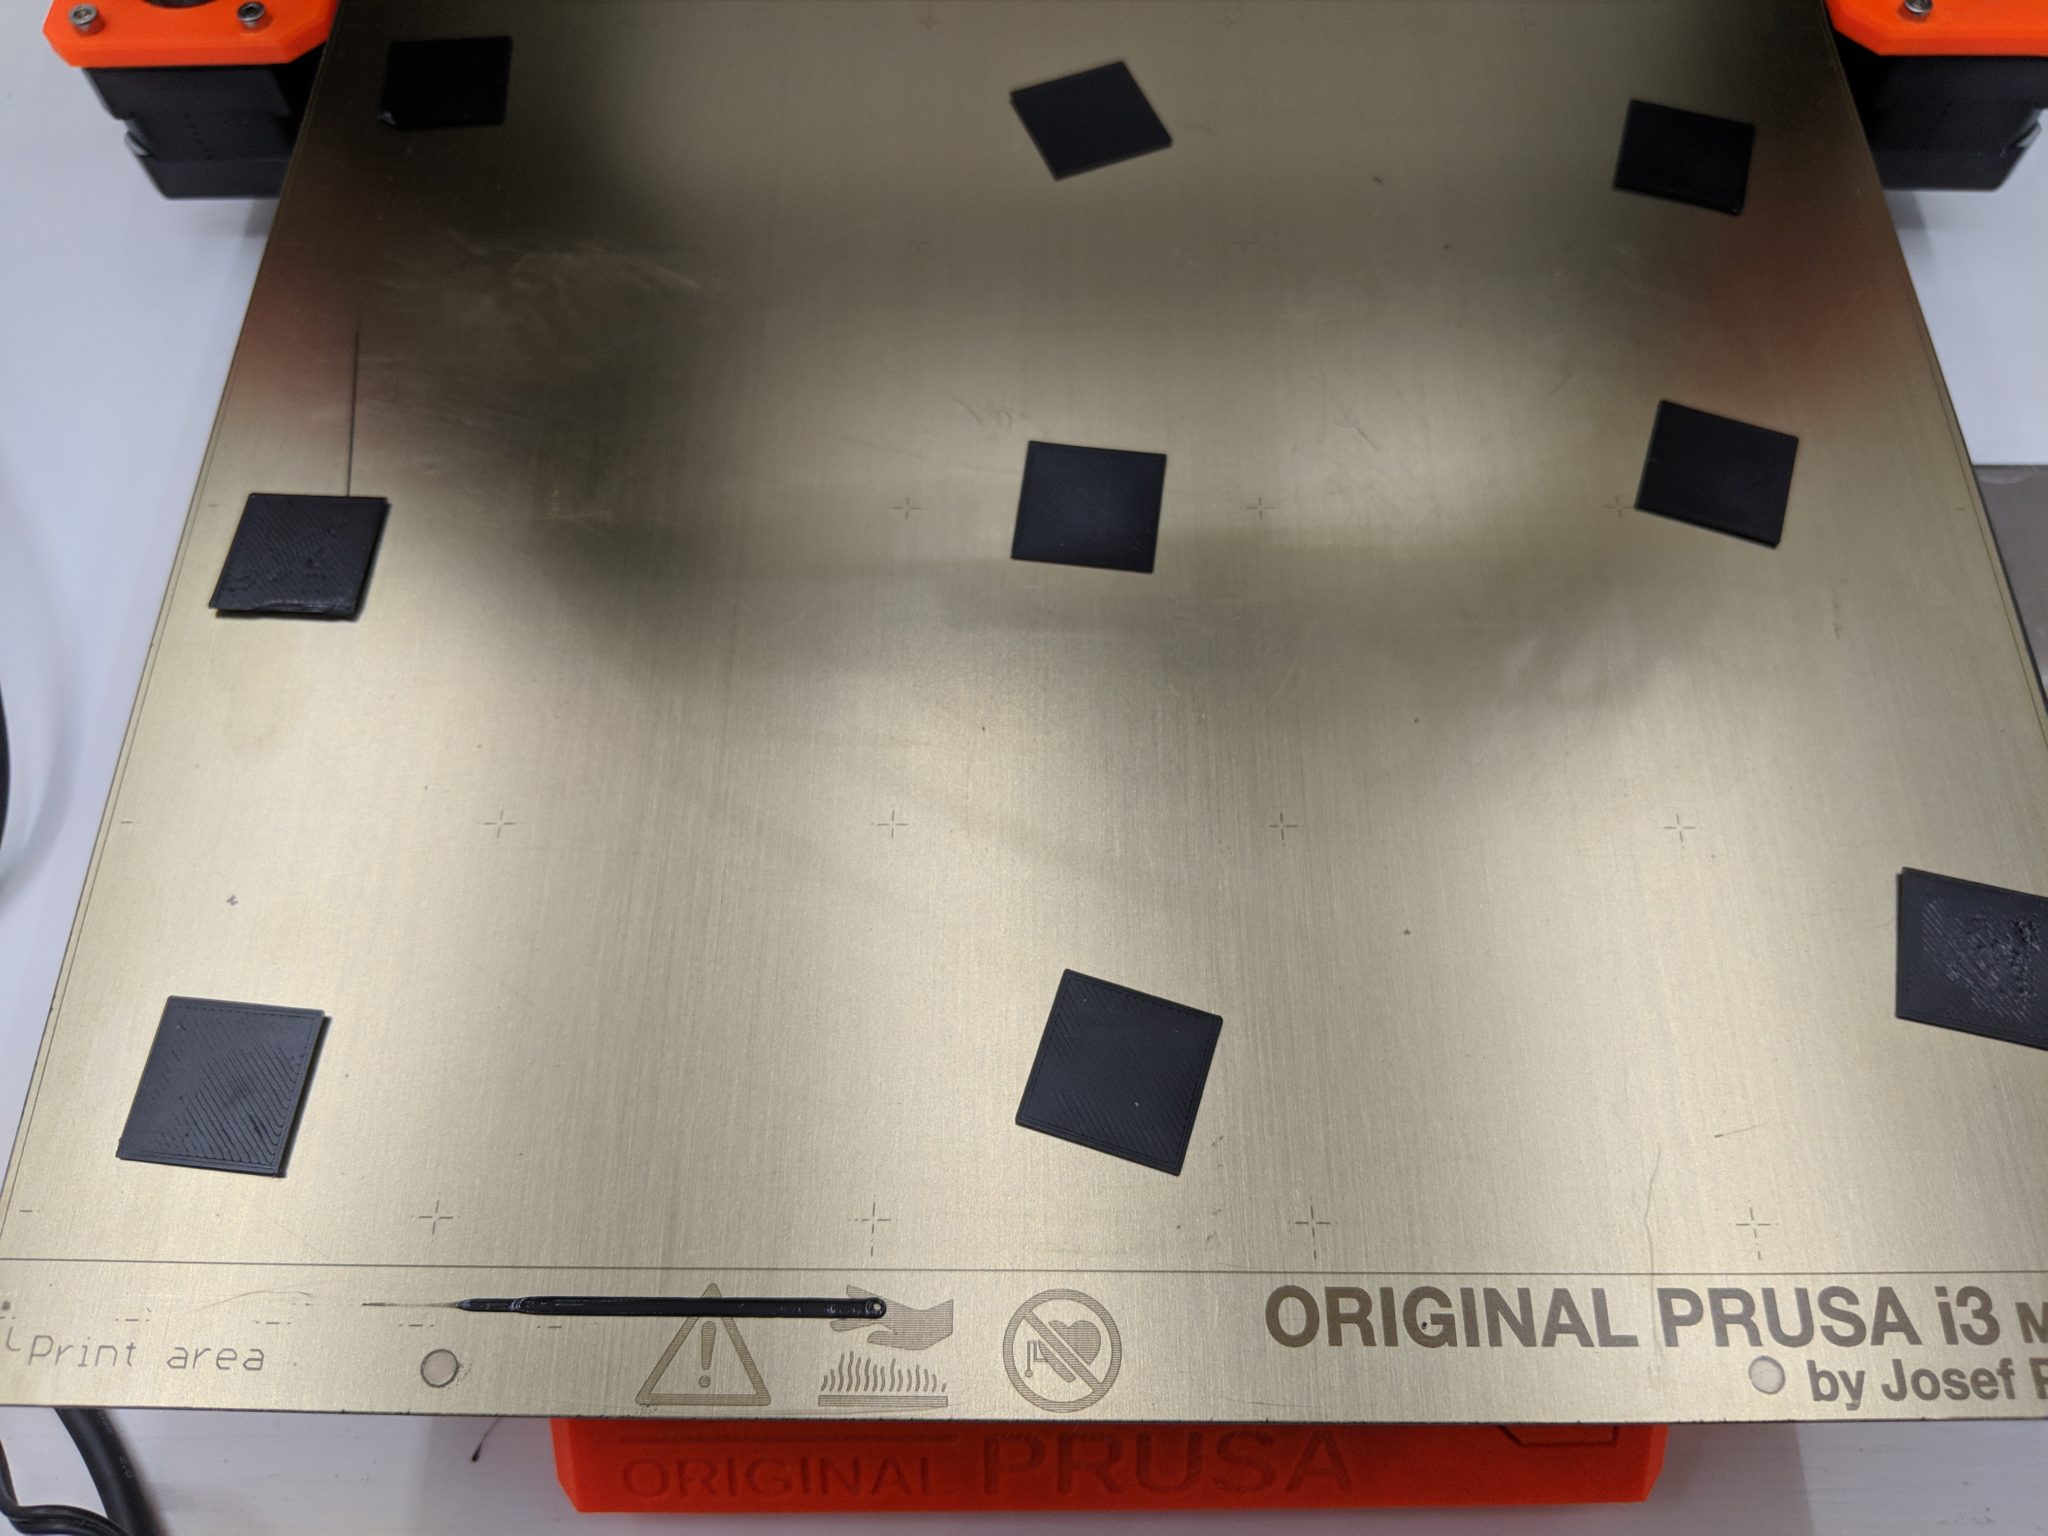
Depending on your 3d printer, you may need to resize or adjust the model using your favorite slicing software to make sure it first on your print bed.
First I usually just run the test print without making any changes. This will give me an idea of what I need to do.
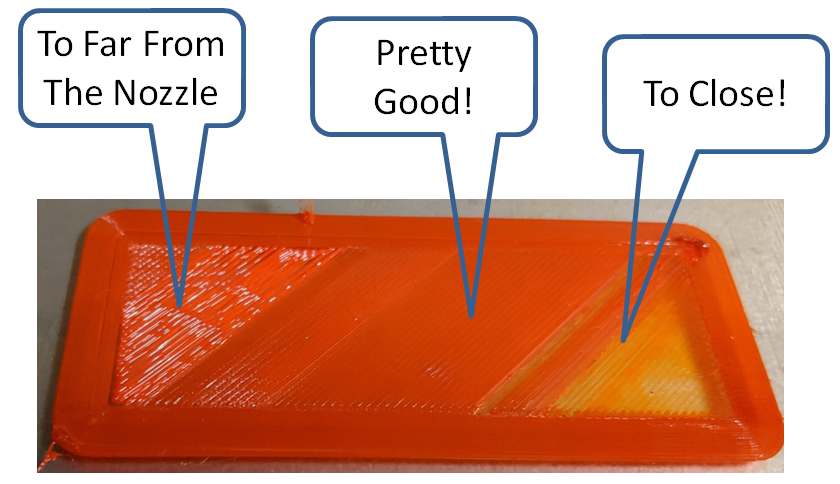
Once complete take a look at the squares and examine them. If your print bed is too high, the lines between each print will have gaps between them. As if the 3d printer filament is not being squished enough.
Too low, there will be ridges between each 3d printed row and an overall rough contour to the print.
Fine Tuning Your Nozzle Height
Now run the print again, this time adjust the bed leveling knobs appropriately. If you do not have bed leveling knobs and you are using a bed leveling sensor.
Go into your 3d printer's console and look for "Live Z Height" this will allow you to raise and lower the Z Height of your print. However, this will raise and lower that height for the ENTIRE 3d print bed. So you will need to find a setting that works best for all areas.
Your final result should be a 3d print that is smooth and even throughout your 3d print. Do not discourage if you need to run the print multiple times.
*NOTE* Depending on your 3d printer you might not be able to get the entire 3d print bed perfect. Focus on the area within your build plate that YOU PRINT on. Who cares if the corners are perfect if you do not print there right?
Bed Adhesion:
By this point, you should have a clean and consistent first layer, but you still might need a little help making it stick! There is nothing more aggregating that waking up expecting a completed print, only to find your 3d print broke loose from the build plate! Not only is this a complete waste of time, but also you might have a HUGE mess to deal with as well.
The single biggest tool that I use is Hair Spray! Yes, Hair Spray! It doesn't even have to be some super expensive salon quality Hair Spray either in fact; I found the Unscented Aqua Net Extra Super Hold works best.
Yes, the stuff that once thrived in the era of the great 80's hair bands is making a return in the 3d printing industry.
So why the Hair Spray you ask?
- Creates a tacky layer for your 3d prints to stick to!
- Hair Spray also acts as a sacrificial area between your build plate and your 3d print!
- It's super cheap!
- Virtually eliminates the need for fancy build surfaces like Build Tack and PEI Sheets.
- Hair Spray also nearly eliminates the need to clean your build surface, no mater what it is.
- Works on every material that I have tried, PLA, PETG, ABS, and Nylon.
Hair Spray is one of those things I shied away from for far too long! Thinking to myself, something that cheap couldn't be that effective besides it not even for 3d printing right?
My changing point was when I peeled off part of my PEI Sheet when removing a PETG print. No doubt this was a big issue, not only were PEI Sheets at the time fairly expensive, but they are also a pain in the butt to replace. That is when I began to look for alternatives.
Luckily I stumbled upon someone suggesting using Hair Spray. I purchased some and never looked back.
Since using the Hair Spray, I rarely clean my 3d print bed. I MIGHT do it every 3 months? Only then because the first layer is collecting visible trash and dies from the 3d print material.
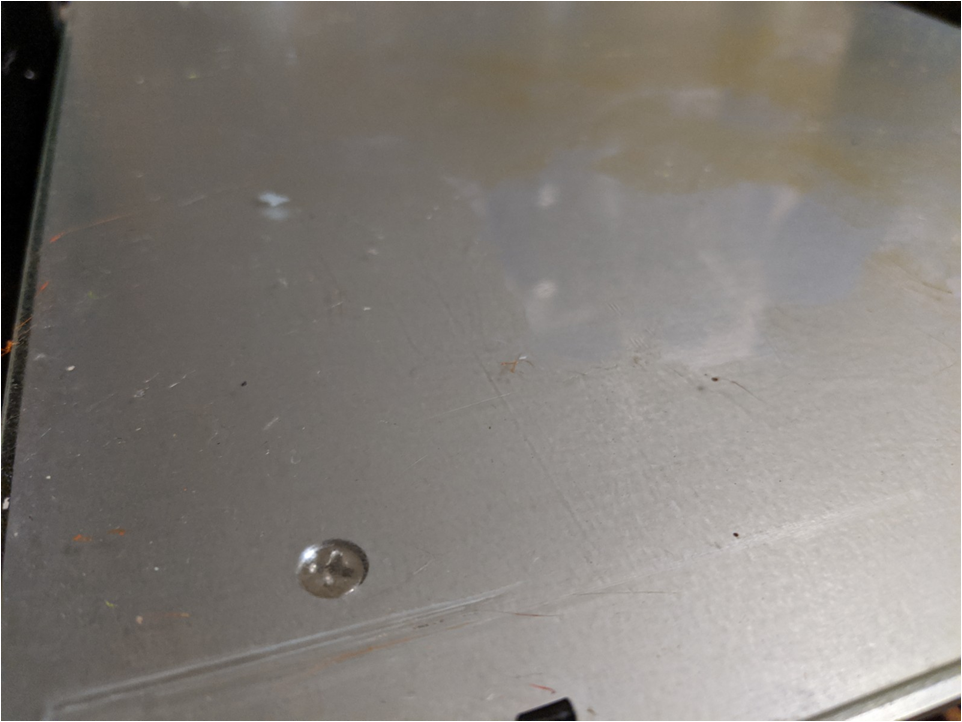
As a testimonial to just how good Hair Spray is, I am printing on my Stock CR-10s's build plate. In fact, I don't think it is even glass, not flat, and pretty much the worse build surface money could buy!
I was using a mirror surface however, it broke, and instead of replacing it. I decided to go with the old stock build plate I had, and really do not have any problems with it as long as I follow this guide.
Of Course There Bonuses To Having Things Like PEI Sheets
There are instances where it is nice to have both the PEI Sheet and the Hair Spray. They also work together very nice! However, don't think you have to run out and buy the best build surface, you can get away with just using Hair Spray on stock build plates.
What's the best way to apply the Hair Spray?
Simply add a light layer on the build surface while it is cool, then allow it to heat up.
You also add it while it is hot although, the Hair Spray tends to steam off of the build plate rather quickly, and the last thing I want to do is start a fire. However, I do routinely do it.
Other Options To Help Adhesion
Glue Stick
Apply a thin layer off glue to the print bed where you plan on printing and let it ride! I did not like this method either, I hated cleaning up the glue. Although if your build surface is smooth like a glass or a mirror, you could simply scrape it with a razor blade and follow up with soap and water.
Blue Painters Tape
This seems to be the most common solution especially since it is easily removable. The painter's tape is porous it allows the molten plastic to seep into all of its cracks and crevices. This provides superior adhesion, but also creates some problems.
Your bed must be leveled with the painter's tape on it, which can be problematic.
In addition, it does get constantly and adds another expense.
PEI Sheet
As we stated PEI Sheets are a great addition to your 3d printer however, they are not a necessity. The PEI Sheets works by creating texturing, much like painters tape to allow your 3d filament to seep into and form a bond.
The only downside I have found they, tend to wear out over time, and stick TOO GOOD to PETG.
PETG will defiantly crack, or even rip off sections of your build plate if you are not careful.
Additional Tips To Make It All Work
Don't fear, you do not have to ever step every time you run a new 3d print or material!
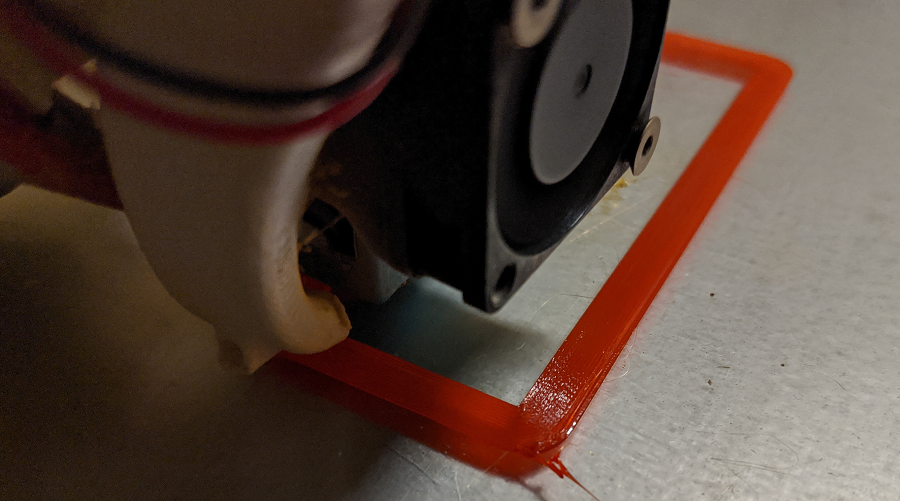
Print with a Brim
Yes, printing with a Brim will allow your 3d prints some more surface area to grab onto, but it will also allow you to adjust the Nozzle Height when you start your 3d print.
When your 3d print begins, simply either adjust your "Live Z" adjustment or adjust your bed using the bed leveling knobs.
This will allow you to quickly dial in any fine adjustments without having to go through the whole test print procedure!
Final Thoughts
First layer problems are bar far the most common types of problems in 3d printing. The good news is that they are also completely avoidable!
As stated before your All first layer problems can be fixed by, reducing your first layer print speed, properly leveling your 3d print bed, adjusting the distance between your nozzle and the build surface, and applying some adhesive to the print bed like Hair Spray.
If you enjoyed this article feel free to leave a comment, subscribe or send me an email. Thank You.


